Signal contstruction starts
Now we'll build the signal.
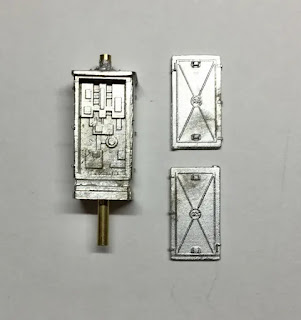
Here are the model parts from Showcase Miniatures (images from their website).


You'll notice right away the Mopac signals were mounted on top of the pole and not on an arm like what's shown on the website. I had to come up with a way to modify the parts to match the prototype. First I drilled out the signal head base so it would mount on top of the pole. I attached it with CA glue.

I added the LED lights and secured them with judicious amount of tacky glue. I also used tacky glue to attach the back of the signal. This is in case I have to replace or work on the electronics.

Side view of the signal.

Front view of the signal showing the LEDs. I adjusted the LEDs trying to center them the best I could.

I then followed the instructions and added the supports and platforms I needed. You can see the signal number board has been added.

The next modification was the ladder. To match the prototype I had to use scrap etched metal from the ladder fret to bend the top rung of the cage and the supports that go to the platform. I used the stock railing piece to make a jig to make the modified one you see in the pictures below.


Next thing I worked on was the concrete base. There is no ready-made part so I took .030 polystyrene and laminated pieces that were cut to the size of the concrete base. I used a file to shape the top edges/corners of the base and then a Dremel tool to cut out the indentation and then I glued those pieces to the top piece to get the final shape/base as you can see in the image below. I used Mr. Surfacer 1200 to try to smooth out the gaps, but may have to use CA to fill them in. I soldered a washer to the pipe that will be the base of the signal and then used Detail Associates nut/bolt/washer on the base. I'll paint everything first and then will assemble the base to the mast/signal head. This way I can ensure the concrete gets painted like concrete and both signals can be the same height.


Next post will be the signal with the GRS cabinet.


Comments
Post a Comment